Cabinet staining in Overland Park is one of the highest-return upgrades you can make to a kitchen, and done right it can refresh solid-wood cabinets for a fraction of the cost of replacement. The short answer: expect proper prep (degreasing, sanding, and conditioning), a stain matched to your wood species, and a durable clear topcoat, all handled in a controlled, dust-managed space over several days. For the best finish on oak, maple, hickory, and cherry cabinets common in Johnson County homes, most owners are better served by a professional than a weekend DIY attempt.
Key takeaways
- Staining works best on real wood. Solid oak, maple, hickory, and cherry take stain beautifully; MDF, thermofoil, and laminate do not and need a different approach.
- Prep is the foundation of the job. Kitchen grease, sanding, and wood conditioner determine whether the finish lasts or blotches.
- Expect 4 to 7 days for a full kitchen when doors are removed, labeled, and finished off-site or in a dedicated area.
- Climate matters here. Overland Park’s humid summers and dry winter heating swings affect drying and cure times, so timing the project pays off.
- A quality topcoat is non-negotiable in a kitchen that sees daily moisture, heat, and hand oils.
Why Stain Cabinets Instead of Replacing Them
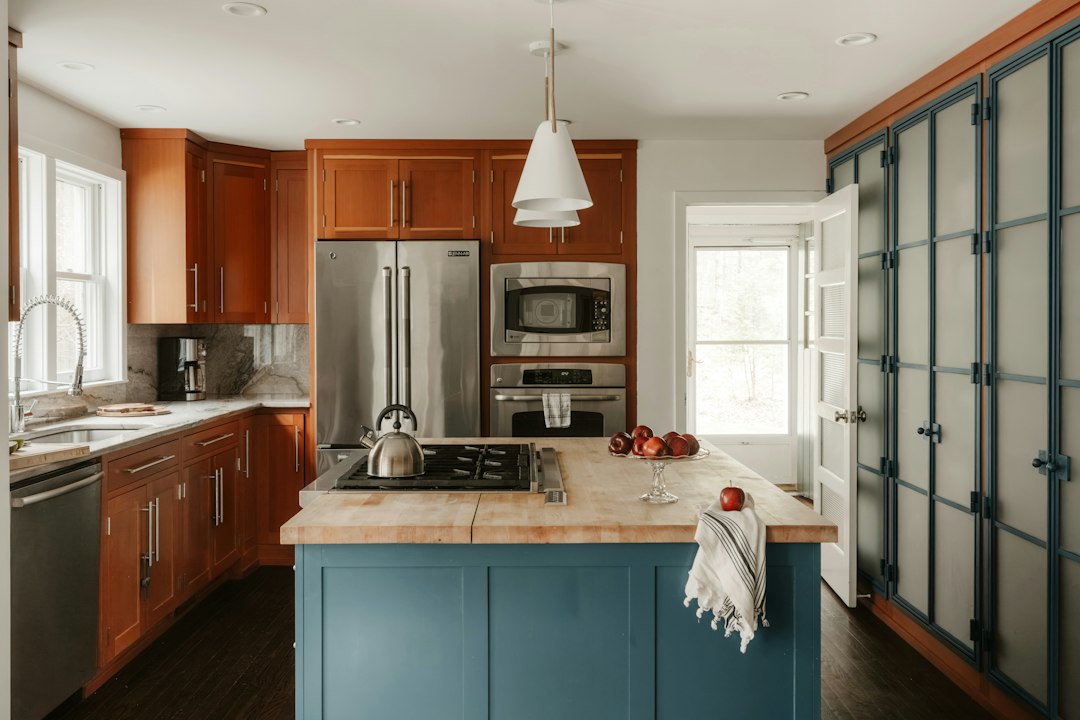
Overland Park has a deep stock of homes built from the 1980s through the 2000s, many in neighborhoods like Nottingham, Oak Park, and the newer developments south toward Stilwell. A huge share of these kitchens were fitted with solid oak or maple cabinet boxes and doors that are structurally sound decades later. The boxes are fine; the finish is just dated or worn. Restaining lets you keep quality hardwood frames while completely changing the look.
Remodeling a kitchen is consistently one of the better-returning home projects. According to the National Association of Realtors 2022 Remodeling Impact Report, kitchen upgrades recover a meaningful portion of their cost at resale, and a refinish-focused approach keeps your spend far below a full tear-out. For Johnson County sellers, updated cabinets photograph well and read as move-in-ready.
Which Cabinets Can Actually Be Stained
This is the first thing a good painter checks. Stain penetrates and colors wood grain, so it only works on real wood surfaces.
- Great candidates: solid oak, maple, hickory, cherry, and birch, plus real wood veneer in good condition.
- Not candidates for stain: MDF, particleboard, thermofoil, and plastic laminate. These have no grain to accept stain and should be painted or re-faced instead.
Many Overland Park kitchens mix solid-wood doors and frames with MDF or plywood interior panels. That is normal. A professional will tell you honestly whether staining makes sense or whether a quality cabinet paint is the smarter route.
The Professional Cabinet Staining Process
Here is what a real refinishing workflow looks like, and why each step matters in a working kitchen. In our experience, the preparation stages are where the vast majority of a successful outcome is won or lost, long before any color goes on:
- Degrease thoroughly. Kitchen cabinets carry years of cooking grease and hand oils. Skipping this is a leading cause of blotchy, peeling finishes.
- Remove and label doors and drawers. Finishing flat, off the hinges, produces an even coat and lets us control dust.
- Sand to open the grain. We strip or sand the old finish so new stain can penetrate instead of sitting on top.
- Apply wood conditioner. Soft woods like pine and even some maple blotch without it. Conditioner evens absorption.
- Stain and wipe. Color is built in controlled coats, wiped to grain, and matched to your target tone.
- Seal with a durable topcoat. A catalyzed or waterborne polyurethane protects against moisture, heat, and daily wear.
If your cabinets are currently stained and you are going darker, the job is more forgiving. Going lighter usually means full stripping. Either way, the depth of prep is what separates a finish that lasts a decade from one that fails in a year.
Timing Your Project Around Overland Park’s Climate
Kansas weather genuinely affects this work. Our humid summers slow solvent evaporation and extend cure times, while winter forced-air heating dries indoor air fast and can raise dust. Spring and fall tend to offer the most stable indoor conditions for staining, though a professional with a controlled workspace can deliver year-round.
Humidity is the big one. High moisture in the air lengthens dry-to-recoat windows, and rushing coats in a sticky July kitchen risks a soft, tacky finish. We monitor conditions and adjust schedule and product accordingly. For more on how local humidity affects finishes, our team’s advice on maintaining finishes through Kansas City’s humid summers applies directly to cabinet topcoats too.
Stain vs. Paint for Your Cabinets
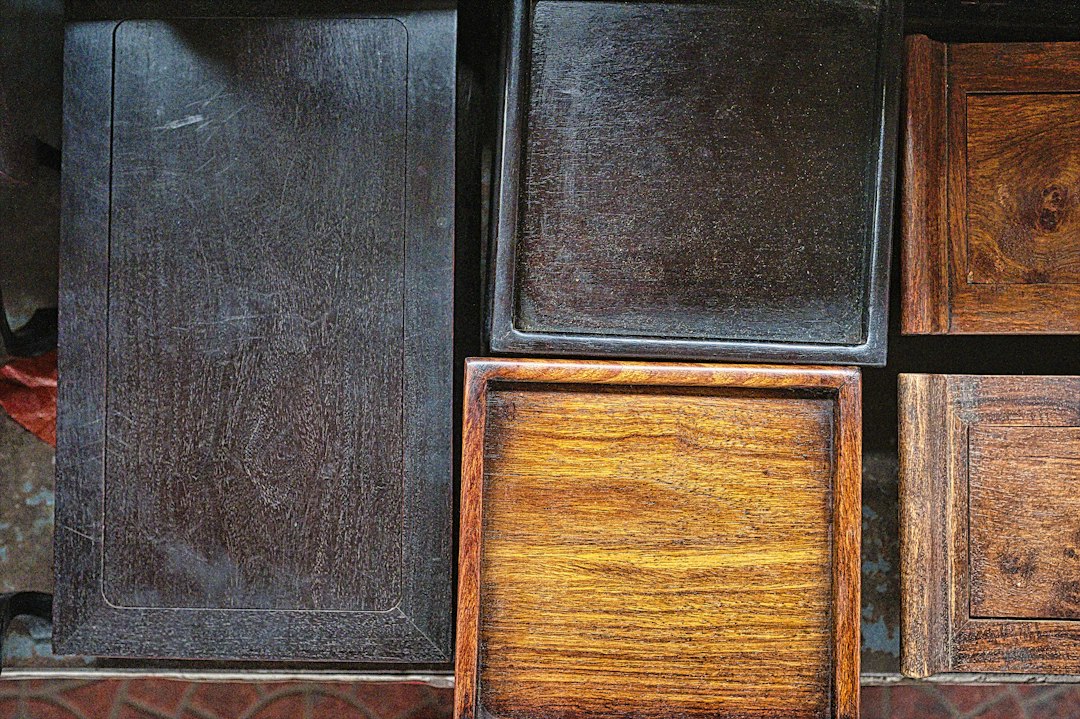
Both are valid. Stain showcases natural grain and hides minor wear well, which suits the oak-heavy kitchens throughout Overland Park. Paint gives a smooth, uniform, contemporary look and is the only option for non-wood surfaces. Cost and durability are comparable when done professionally; the decision usually comes down to the look you want and your cabinet material. If you are weighing the two, our breakdown of staining versus painting costs in Kansas City walks through the trade-offs in detail.
DIY vs. Hiring a Pro
Cabinet staining looks approachable on video and humbles many homeowners in practice. The failure points are consistent: inadequate degreasing, uneven stain absorption, dust in the topcoat, and lap marks. In a kitchen you use daily, a flawed finish is visible under every light. A professional brings spray equipment, proper ventilation, and product knowledge that produces a factory-smooth result. If you want help from a local crew, you can contact our team for an assessment, or review our staining services in southern Johnson County to see the scope we cover.
Caring for Newly Stained Cabinets
Once cured, treat the finish gently for the first couple of weeks while it reaches full hardness. After that, wipe spills promptly, avoid abrasive cleaners, and use mild soap and water. Reapplying a maintenance coat every several years keeps high-touch doors near the sink and stove looking new. Note that any guidance here is general; for product-specific cure times and chemical handling, follow the manufacturer’s data sheet and consult a licensed professional.