What are the steps for interior painting?
Transforming the look of your home with a fresh coat of paint can be an exciting project, but it’s essential to follow the right steps to achieve professional results. At Pileggi Painting, we specialize in delivering high-quality interior painting services for homeowners in Kansas City and the surrounding areas. Here’s a detailed, step-by-step guide to the interior painting process, emphasizing why professional techniques matter.
Why Proper Steps Matter in Interior Painting

Following a structured process is key to ensuring a smooth and long-lasting finish. Skipping steps or using incorrect techniques can lead to:
Uneven paint coverage
Premature peeling or chipping
Visible imperfections on walls
Professional painters, like the experts at Pileggi Painting, avoid these common DIY mistakes by using time-tested methods and high-quality materials.
Step-by-Step Guide to Interior Painting

Step 1: Plan Your Project
Choose the Right Colors: Consider the mood and function of each room. Test paint samples on walls to see how they look in different lighting.
Calculate Paint Needs: Measure your walls to determine how much paint and primer you’ll need.
Step 2: Prepare the Room
Move Furniture: Shift furniture to the center of the room and cover it with drop cloths.
Protect Surfaces: Use painter’s tape to mask off trim, outlets, and windows. Cover floors with drop cloths to catch drips.
Step 3: Clean and Repair Surfaces
Clean Walls: Wipe down walls with a damp cloth to remove dust and grease.
Repair Imperfections: Fill cracks, holes, and dents with spackle. Once dry, sand the areas until smooth.
Step 4: Prime the Walls
Apply Primer: A primer ensures better paint adhesion and covers up stains or dark colors. Use a roller for large areas and a brush for edges.
When to Use Primer: Always prime when painting over dark colors, new drywall, or porous surfaces.
Step 5: Apply the Paint
Start with Ceilings: Paint ceilings first to avoid splatters on walls.
Paint Walls: Use a roller for even coverage and a brush for corners and edges.
Apply Multiple Coats: Allow the first coat to dry completely before applying additional coats for a uniform finish.
Step 6: Inspect and Touch Up
Check for Missed Spots: Use natural light to inspect the walls for uneven areas.
Make Touch-Ups: Address any imperfections with a small brush.
Step 7: Clean Up
Remove Tape: Carefully peel off painter’s tape while the paint is still slightly wet.
Clean Tools: Wash brushes and rollers thoroughly for future use.
Dispose Responsibly: Follow local guidelines for disposing of leftover paint and materials.
Why Hire Professional Painters for Interior Projects

Hiring professional painters offers several advantages, including:
Time Savings: Avoid the hassle of prepping and painting by letting experts handle the work.
Professional Tools and Techniques: Access to high-quality tools and expertise ensures flawless results.
Long-Lasting Finish: Proper application extends the life of your paint job.
Learn more about 7 Key Advantages of Hiring Professional Painters to Paint a Home
Why Choose Pileggi Painting?
At Pileggi Painting, we’re committed to delivering exceptional results for Kansas City homeowners. Here’s what sets us apart:
Local Expertise
We understand the unique needs of Kansas City homes and tailor our services accordingly.

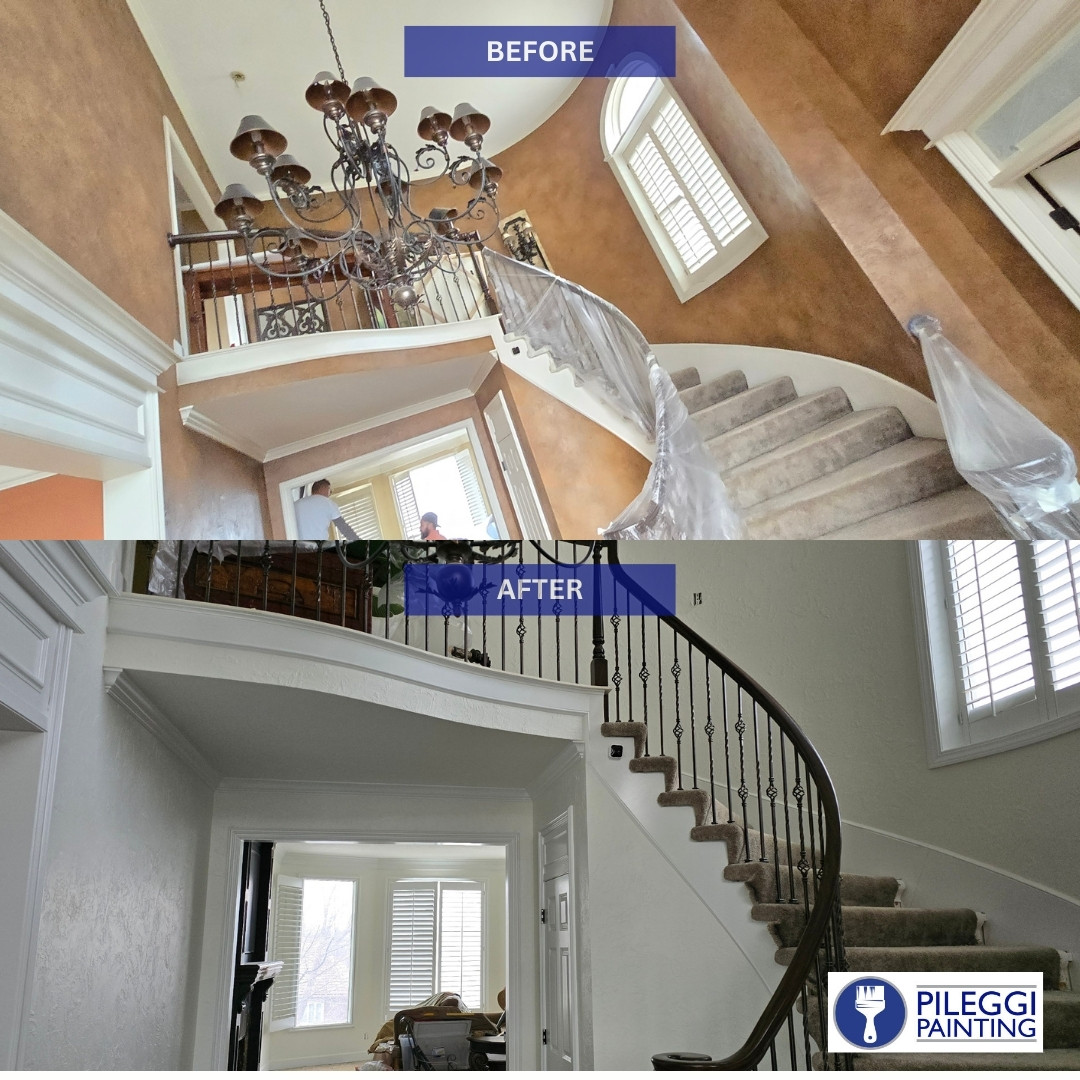
-Before and after interior project #24
Professional Techniques
Our trained painters use proven methods to ensure a polished, professional finish.
Explore professional painting techniques.
Customer Satisfaction
We prioritize transparency, clear communication, and outstanding reviews from our clients.
Comprehensive Services
From thorough wall preparation to meticulous cleanup, we handle every aspect of the interior painting process.
Learn more about Pileggi Painting works and Painting Services
Contact Us
Ready to refresh your home’s interior? Trust the interior painting experts in Kansas City at Pileggi Painting. Contact us today for a free consultation and let us bring your vision to life with professional results you’ll love.


